


A Step-by-Step Guide to Hassle-Free Tubeless Setup
Going tubeless is one of the best upgrades you can make for your bike — fewer punctures, better grip, and less rolling resistance. But getting it right takes a bit of care, especially when you’re doing it yourself at home.
Here’s how to fit a tubeless tyre properly, prep your rims and tyres, and avoid the common pitfalls that cause sealant leaks or poor seating.
🛠 What You’ll Need:
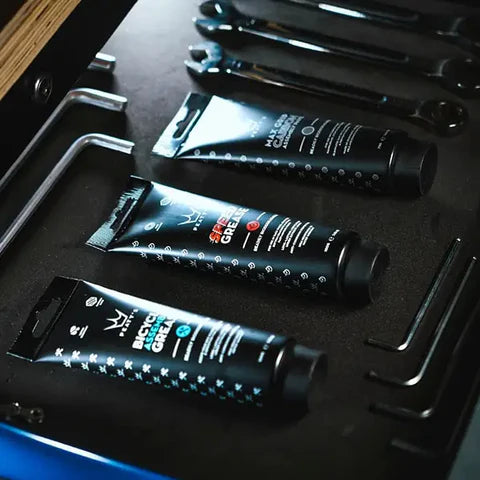
• Peaty’s Tubeless Sealant
• Tubeless-ready tyre
• Tubeless-ready rim
• Tubeless rim tape (if not already taped)
• Tubeless valve
• Track pump, inflator, or compressor
• Valve core remover
• LoamFoam
• Cloth & water
Step 1: Clean and Prep the Tyre
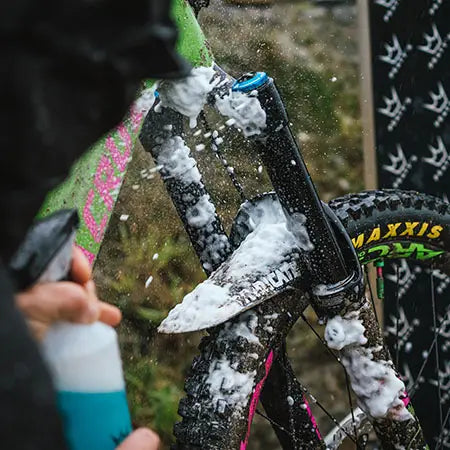
🧼 Clean the Inside
Brand new tyres are often coated with a factory mould release agent, which can prevent sealant from bonding to the casing.
Spray LoamFoam inside the tyre casing
• Scrub lightly and rinse thoroughly
• Dry completely before installation
This helps the sealant soak into the sidewalls properly and prevents those pesky white dot leaks that can show up after your first inflation.
Step 2: Prep Your Rims and Tape
If your rims aren’t already taped for tubeless:
1. Use Peaty’s Holeshot Tubeless Rim Tape to create a strong, airtight seal.
2. Tape the entire internal rim bed, overlapping by a few cm.
3. Press down firmly, especially around spoke holes and the valve area.
4. Pierce a small hole in the tape where your valve will go.
Rim tape done right = fewer headaches later.
Step 3: Fit the Tyre Dry (No Sealant Yet)
• Mount one bead of the tyre onto the rim
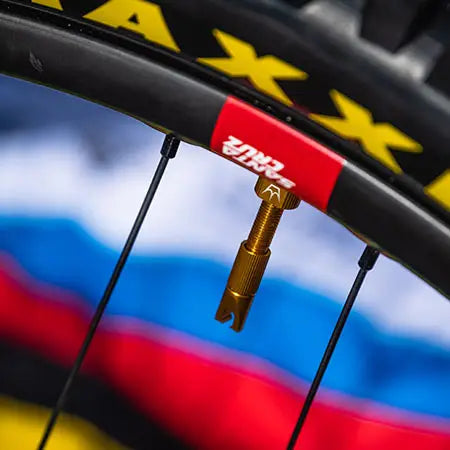
• Add your Peaty’s x Chris King Mk2 Tubeless Valve (make sure it’s snug!)
• Fit the second bead — start opposite the valve and work the bead into the centre rim channel (the “rim dip”) as you go. This reduces the diameter and makes it easier to get the last section on.
✅ Pro tip: Use tyre levers carefully if needed, but avoid pinching the bead.
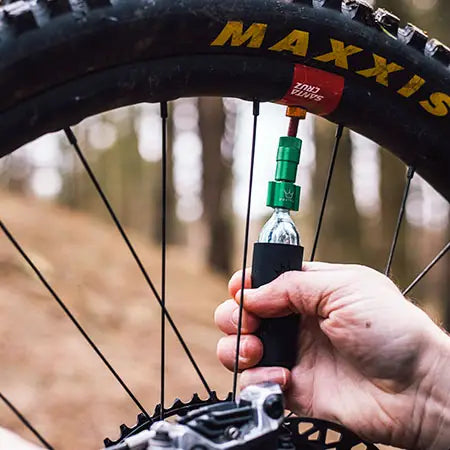
Step 4: Inflate Without Sealant
• Remove the valve core using the tool built into your Peaty’s valve cap
• Inflate the tyre dry using a track pump, inflator or compressor — this helps fully seat the bead onto the rim
• Listen for the pop as the tyre snaps into place
If the tyre seats and holds air, you’re good to move on.
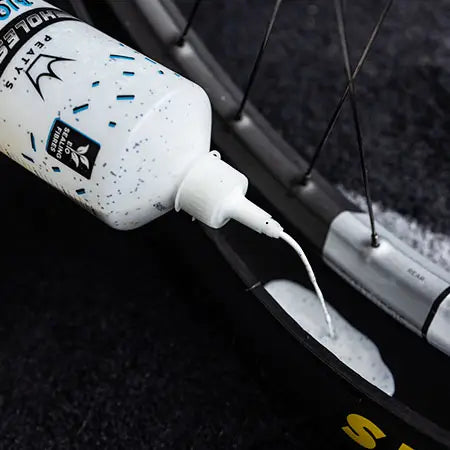
Step 5: Add the Sealant
1. Deflate the tyre completely
2. With the valve at 3 o’clock position, push your Peaty’s Sealant Pouch or Bottle Tube firmly onto the open valve
3. Inject the correct amount of sealant based on your tyre size
4. Re-insert the valve core and re-inflate the tyre
💥 Shake the bottle vigorously before every use to ensure an even distribution of fibres and sealing particles.
Step 6: Seal It Up
• Spin the wheel horizontally
• Tap it gently on the ground as you rotate — this distributes sealant into the casing
• Listen for any hissing — this is air escaping
• Rotate the wheel so the sealant flows to the leak zone, let it sit, spin again, and repeat as needed
Once the hissing stops — you’re sealed!
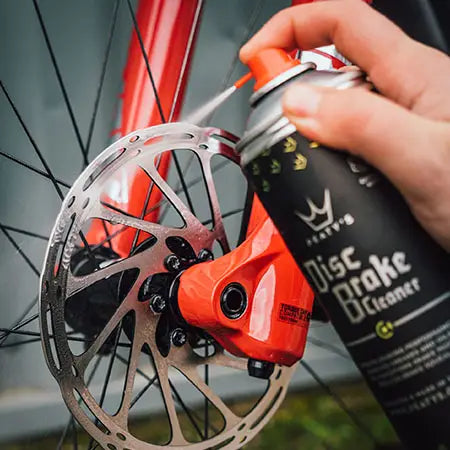
Step 7: Rinse, Check & Ride
• Wash away any sealant spills on the outside of your rim or tyre with water
• Check tyre pressure and adjust to your preferred PSI
• Go ride!
✅ Note: It’s normal to lose a little pressure overnight on first setup. Check after your first few rides and top up sealant as needed.
Final Thoughts
Fitting a tubeless tyre isn’t hard — you just need to follow the right steps and use the right gear. A bit of prep goes a long way to avoid messy leaks and half-seated beads.
✅ Clean tyres
✅ Airtight rim tape
✅ Bead seated in rim dip
✅ Sealant shaken, injected, and evenly distributed
👉 Get tubeless the right way with our full setup range
👉 No tubes. No punctures. No faff.
