IT'S YOUR RIDE,
JUST BETTER
PRODUCT INFORMATION
WHAT'S NEW
We’ve been continually testing and refining different sealant formulations since the day we first launched our tubeless sealant in 2017. Over the last few years we’ve worked with everyone from world cup mechanics and every-day riders to professional product testers, testing over 23 different formulations, with countless revisions, to develop a new sealant formula.
BIOFIBRES - FOR A FASTER, STRONGER SEAL
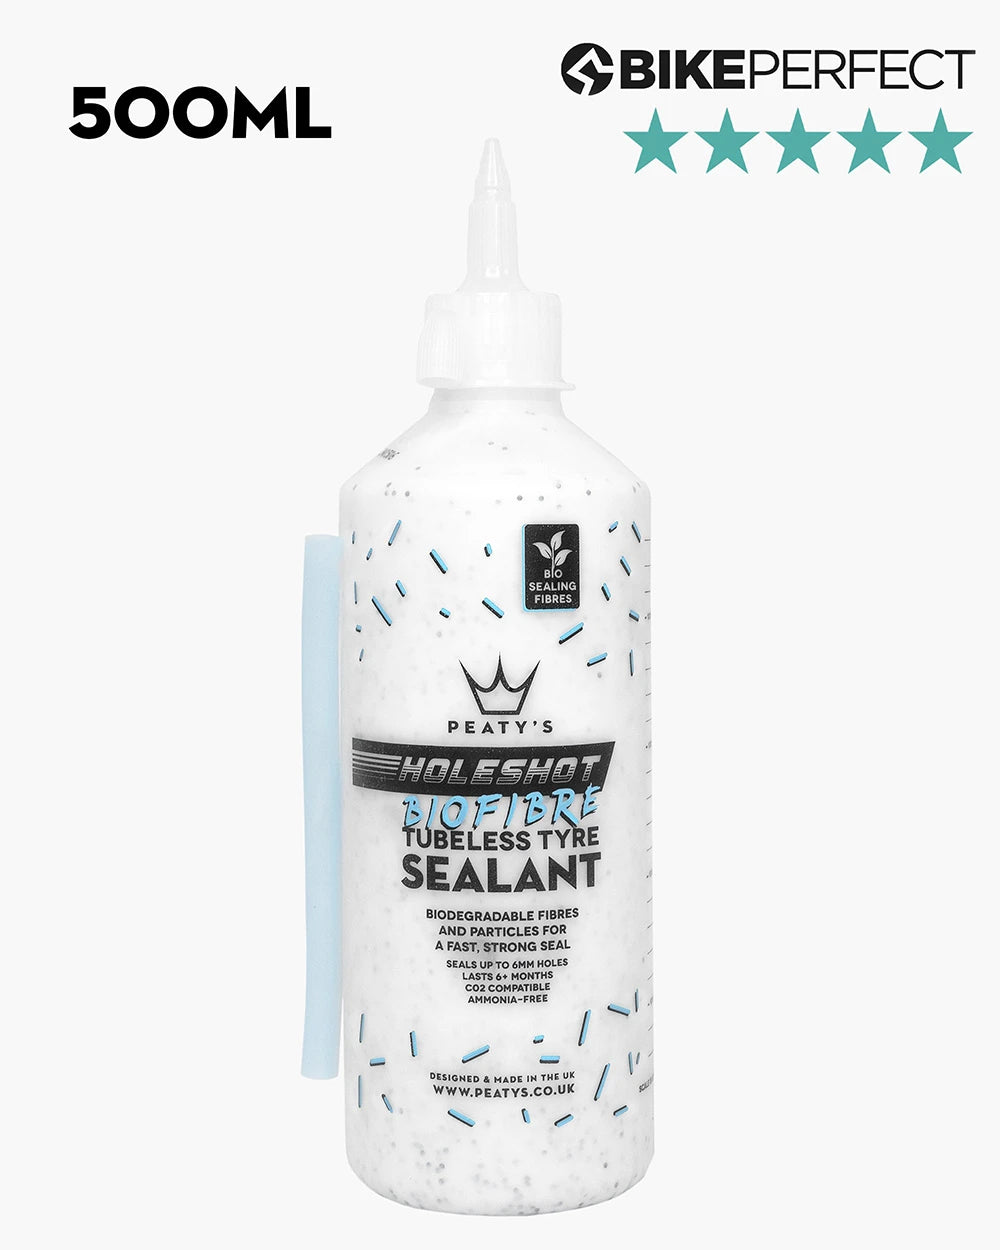
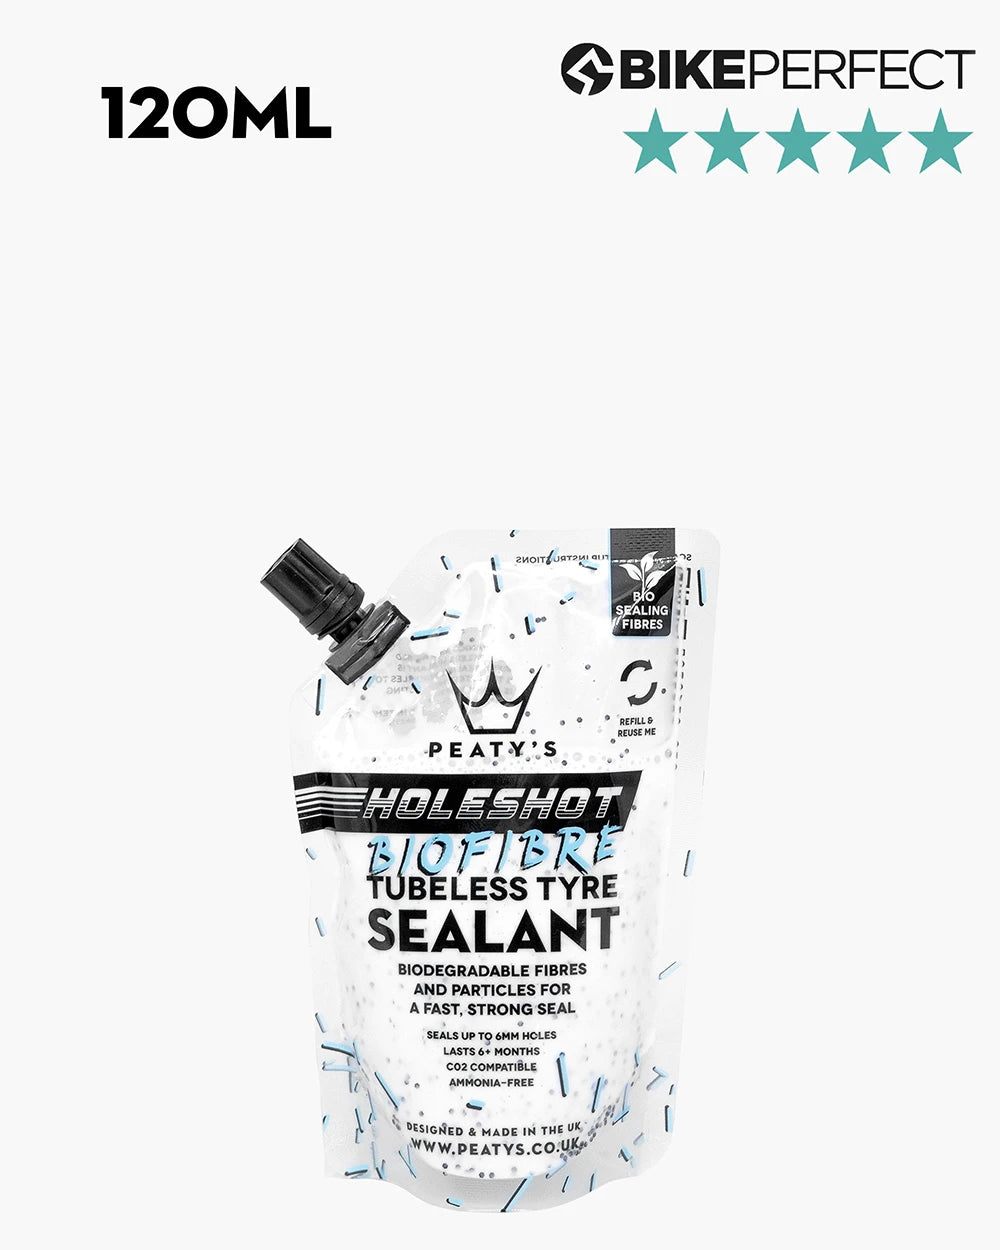
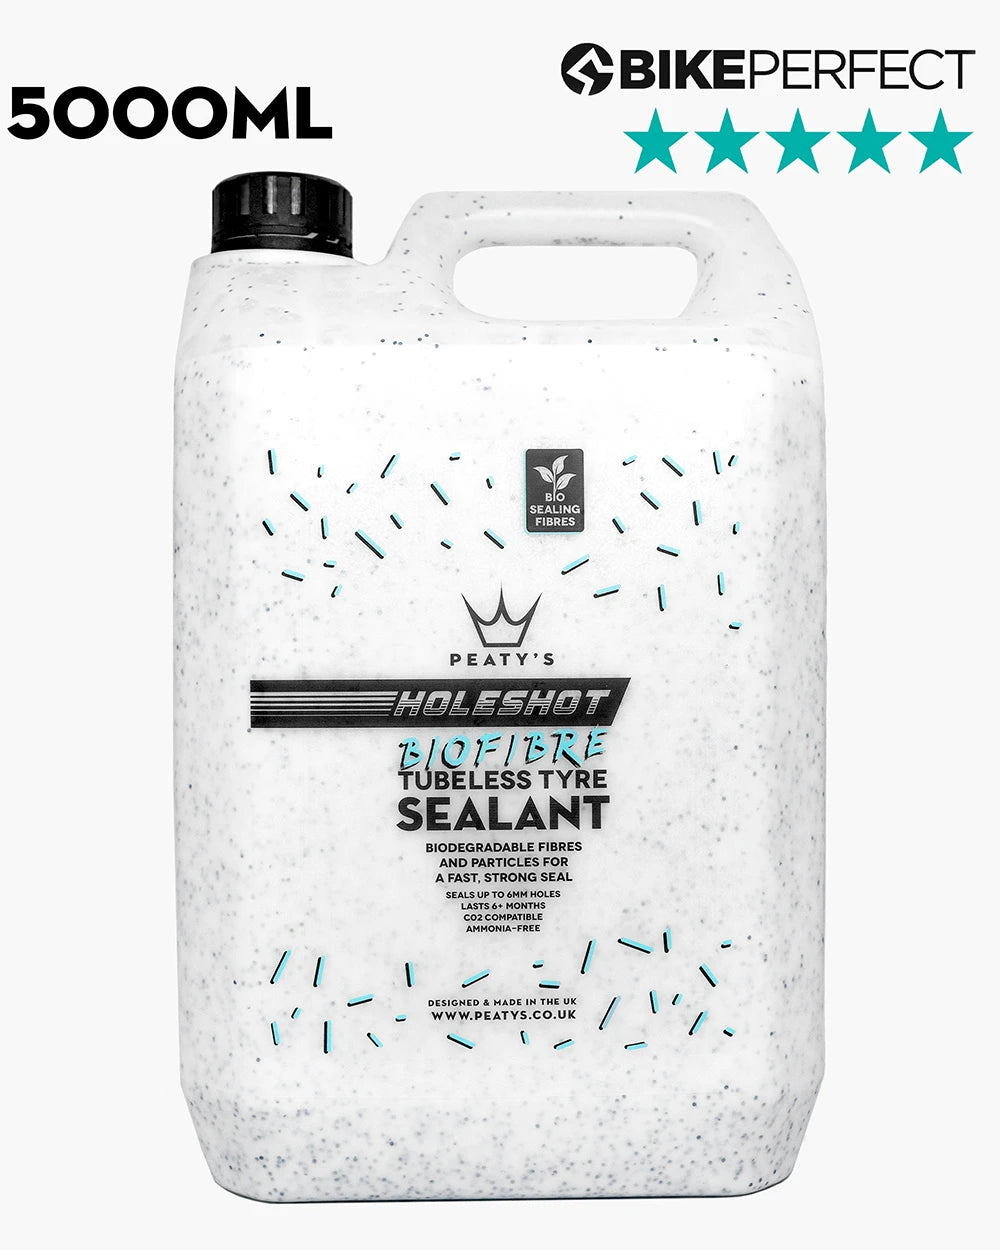
The biggest change with the holeshot sealant is the addition of biofibres. Fibres tangle up with particles and latex to create a faster, more durable seal. Our original sealant didn’t have any fibres. This is because the most common - and easiest - way of achieving a fast seal is by using microplastic fibres. These are very cheap and easy to get hold of, but they’re terrible for the environment, so we stayed away from them. It’s taken us years to find a biodegradable fibre that seals holes well, yet also lasts a long time in the tyre. To get a good seal you need fibres of a really specific size, so after years of testing and development we’ve finally found a fibre which gives incredible sealing performance, while remaining super durable.
THINNER FORMULATION - FOR A FASTER TUBELESS SETUP
We’ve also made the sealant slightly thinner, for easier initial setup, and added higher concentrations of sealing compounds - to work with the fibres and platelets and give a better / more durable seal. That sounds easy right, just add more sealing stuff yeah? The problem is, the more sealing ‘stuff’ you add, the less room there is for other ingredients. Adding more of one thing then throws out the balance of other ingredients, so the more unstable it becomes. Perfecting a sealant which flows easily, seals quickly, works in a good range of operating temperatures and remains super durable has been a long and arduous journey. But we’ve finally got there!
BLACK PLATELETS - LESS MESS
The shiny turquoise bits we had in our original sealant formula can look a bit of a mess stuck to the inside of your tyre carcass - but they did work really well at sealing holes. We tried loads of different shape / size / thickness biodegradable additives to move away from the glitter bits... And tested removing it completely... But ultimately the original size, shape and material always performed the best so we simply changed them to be black to blend in with tyre carcasses and look far less messy if it gets sprayed everywhere.
WAIT, IS THAT PLASTIC GLITTER?!
Hell no! No micro-plastics or microfibres here… The platelets in our sealant are BioGlitter made from a special form of cellulose from hardwoods, primarily eucalyptus sourced from responsibly managed and certified plantations operating to PEFC™ www.pefc.org standards. They work like platelets in your blood, building up behind holes to help our fast acting sealant form an even stronger bond with the rubber in your tyre.
Does it perform?
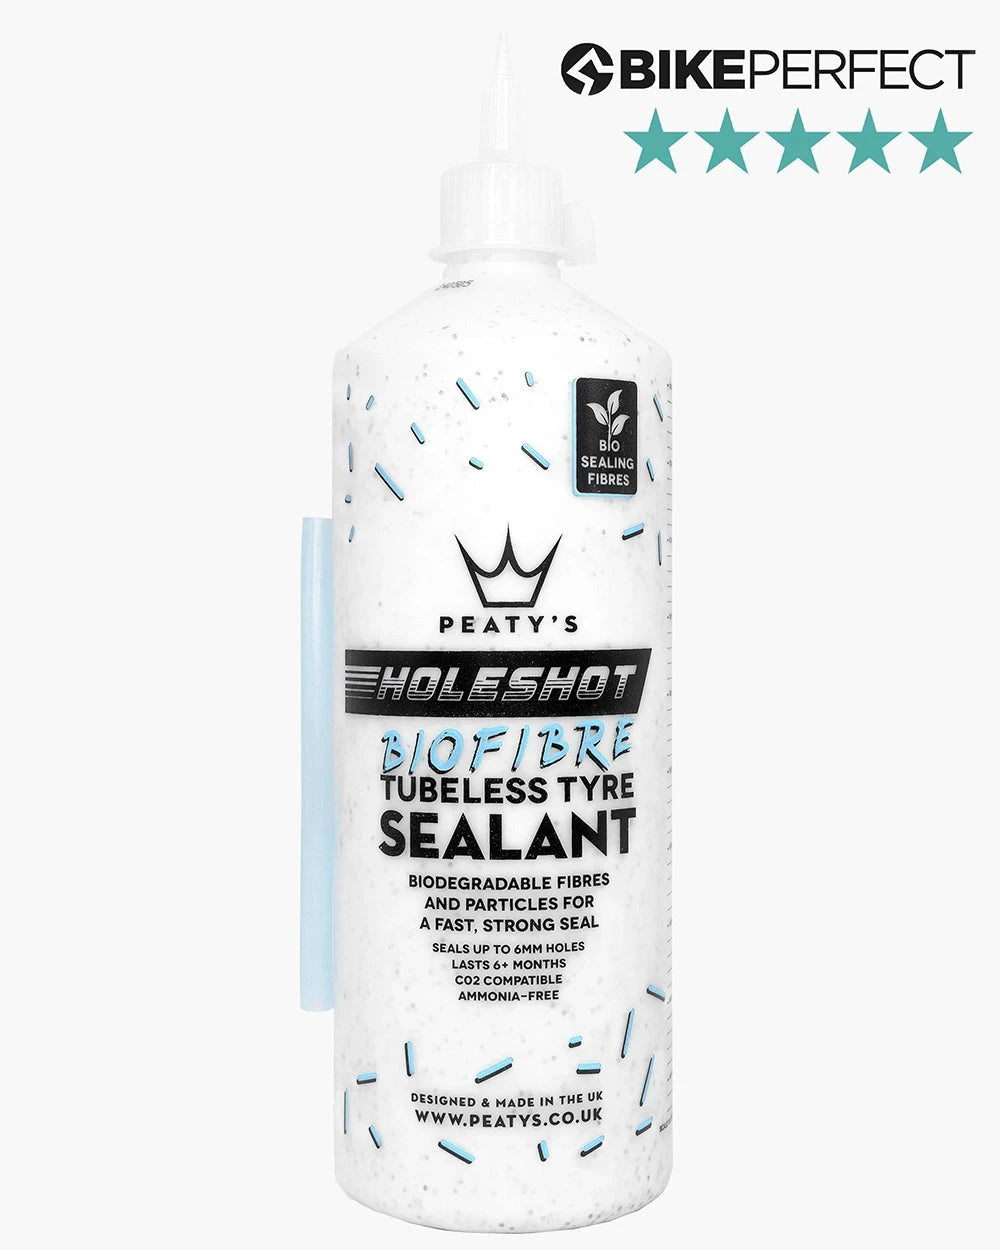
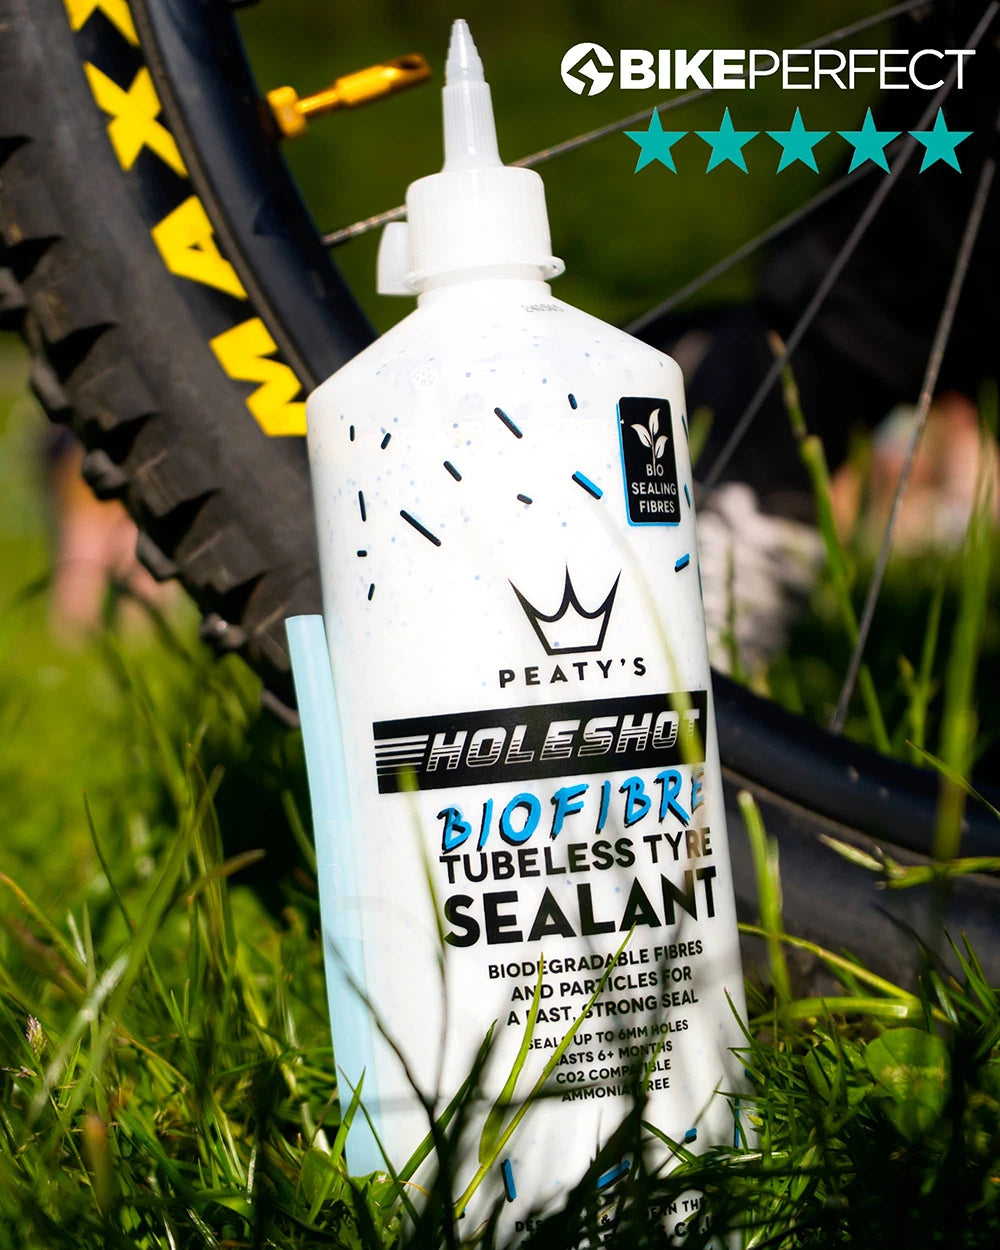
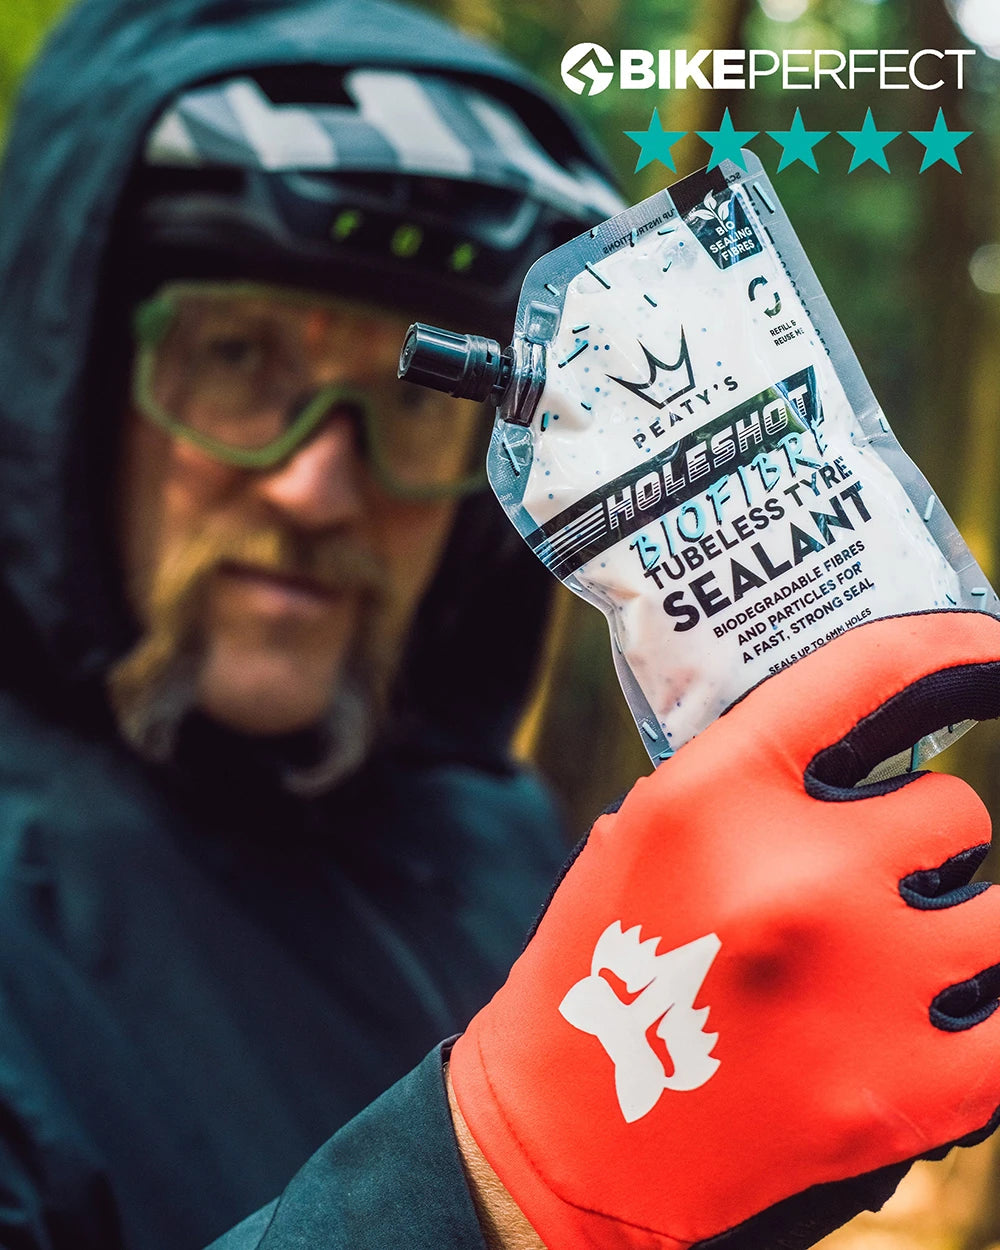
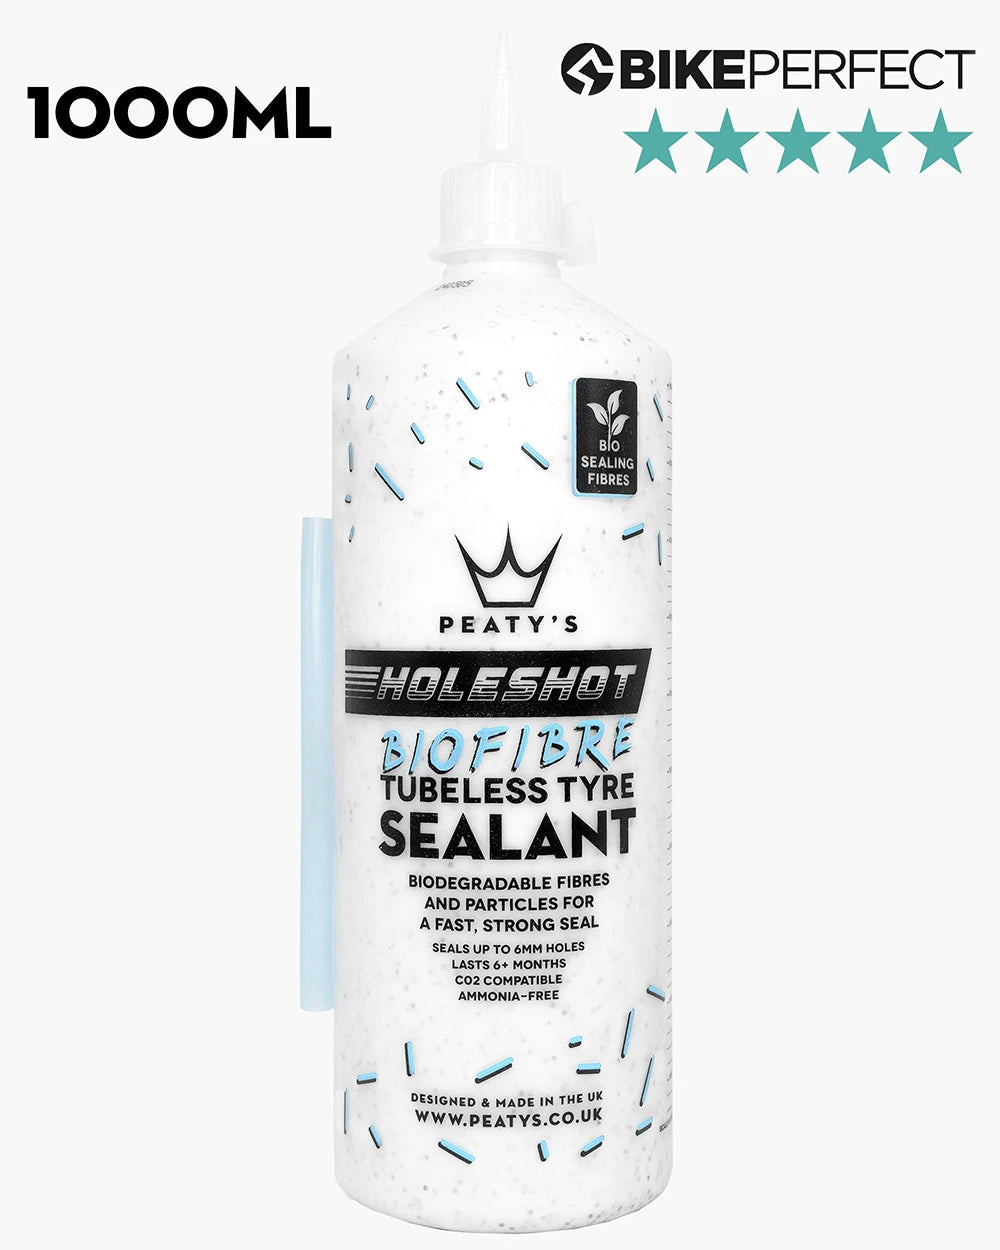
The reviews speak for themselves. Peaty's Holeshot Biofibre Tubeless Sealant has been awarded a perfect 5/5 stars from world renowned product tester Guy Kesteven over on BikePerfect.com. Read the full review here.
RECOMMENDED QUANTITIES
We recommend these quantities:
- Road 30 - 45ml
- Cyclocross 60 - 75ml
- 26” MTB 60 - 80ml
- 27.5” MTB 70 - 90ml
- 29” MTB 100 - 120ml
SETUP INSTRUCTIONS
- Shake the bottle vigorously before every use to ensure an even distribution of fibres and particles.
- Rinse away any old sealant from the tyre and dry off completely. For brand new tyres, degrease, rinse and dry the internal carcass to remove factory mold release agents and other contaminants.
- Seat your tyre onto the rim and inflate initially with no sealant, using a track pump, inflator or compressor to pop the tyre bead fully onto the rim.
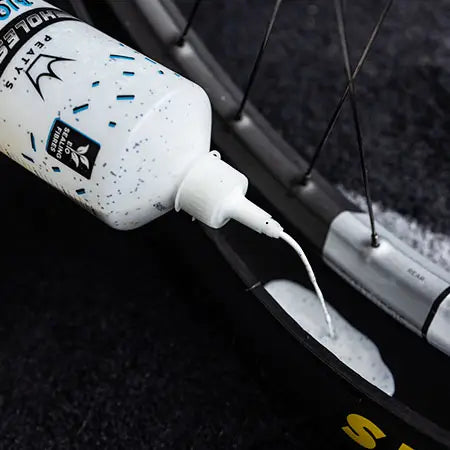
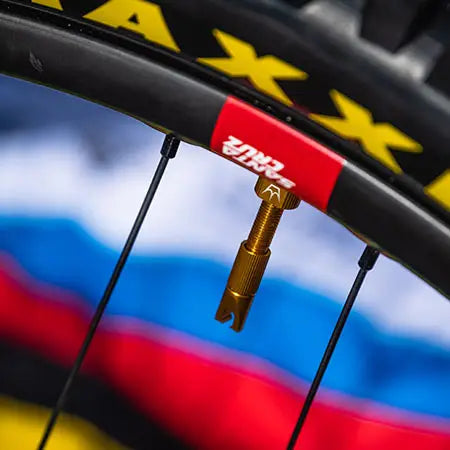
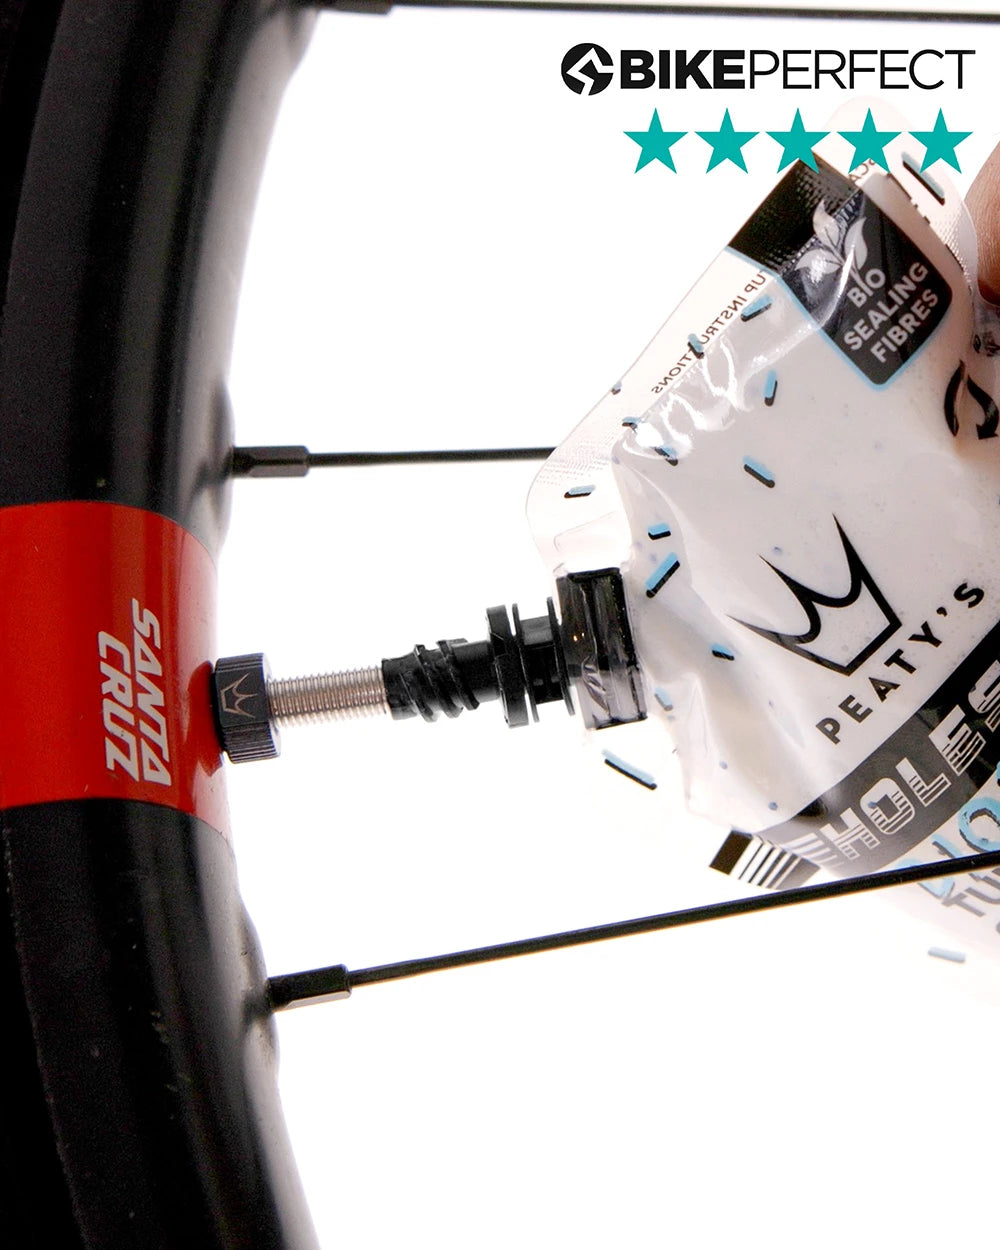
- Deflate the tyre and, with the valve at the three o’clock position, use the flexible injector pipe provided to inject the desired amount of sealant directly through the de-cored valve.
- Re-insert the valve core and re-inflate the tyre to desired pressure.
- Distribute the sealant around inside the tyre by spinning the wheel and tapping the tyre on the floor.
- Listen for any air leaks and orientate the wheel so that the sealant flows around the inside of the tyre to the area required. Continue doing this until you can’t hear any more air loss. †
- Wash away any excess sealant that may have found its way to the outside of the tyre or rim with water.
- Check tyre pressures and ride!
† If a seal can’t be made, add more sealant in increments as required.
DELIVERIES AND RETURNS
DELIVERY
UK
FREE Shipping on all UK orders over £30.
Orders under £30 are subject to a £5 delivery charge.
Alll orders are sent via DPD Next Working Day Delivery.
Please visit our Delivery Information page for further information.
Please expect delays to processing and delivery times around peak periods, such as Christmas, Thanksgiving, Black Friday, and promotion / sales periods.
Our warehouse team work as quickly as they can to pick and pack your orders, and you will be contacted if there's a longer than expected delay. Please get in touch if you have any queries regarding your order.
EU and Worldwide
EU and worldwide shipping is now available.
Please visit our Delivery Information page for further information on all shipping times, free shipping values and delivery charges.
RETURNS
If you are unhappy with your purchase, you have 30 days to return your items to us.
To be eligible for a return, your item must be unused and in the same condition that you received it. It must also be in the original packaging. Please ensure they are packaged appropriately to avoid damage during transit.
Please note, customers are accountable for return shipping charges. We suggest using a recorded or signed for delivery service to ensure the parcel is tracked and insured. All parcels are the customer’s responsibility until we receive them.
For further information, please visit our Refund Policy page.
FURTHER QUESTIONS?
Check out our FAQs for answers to common questions, or Contact Us for more.
FAQS
How much sealant do I need to put in my tyre?
As a general rule we recommend using 2ml of sealant for every mm wide your tyre is. So for example a 2.4" / 60mm wide tyre should have 120ml of sealant.
| Tyre Type | Sealant Quantity* |
| Road | 30 - 45ml |
| Cyclocross | 60 - 75ml |
| 26” MTB | 60 - 80ml |
| 27.5” MTB | 70 - 90ml |
| 29” MTB | 100 - 120ml |
*Quantities quoted per tyre. For wider rim / tyre combinations and / or additional puncture protection we recommend adding up to 30ml more sealant to the above quantities.
HOW LONG DOES SEALANT LAST?
Sealant can last up to (and a lot of the time beyond!) 6 months in your tyre in temperate climates. We recomend you to always check sealant regularly and top up as required. Depending on how much you ride, and how warm it's been, we recommend checking your sealant every three months. For hotter climates or regularly ridden wheels check every month.
WHAT DO I DO IF I GET A PUNCTURE?
Most of the time just keep on riding and the sealant will do the hard work for you! Escaping air will always suck Peaty’s Holeshot Biofibre Tubeless Sealant towards a puncture, so most will seal while spinning. But if a big hole is still leaking, stop and rotate the wheel so it’s at the bottom and tap the tyre to rush maximum sealant to the right spot. For punctures on the sidewall of a tyre you may need to lean your bike over and tap the tyre on its side so the residual pool of sealant is sent to cover the hole.
If the puncture is too big for sealant to fix then check out our Holeshot Tubeless Puncture Plugger Kit.
DOES CO2 AFFECT TUBELESS SEALANT?
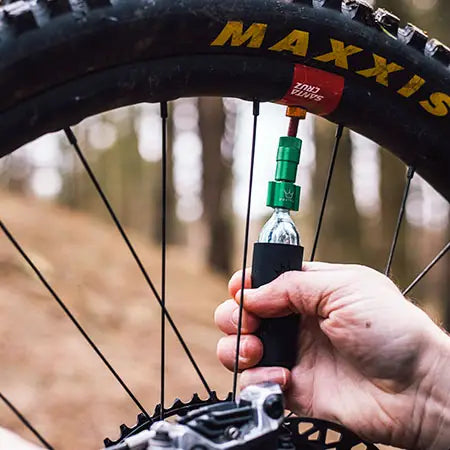
CO2 blasts out of the inflator head at around -50 degrees, so it will freeze any sealant that it comes into close contact with however, since our Holeshot Biofibre Tubeless Sealant formula is a water-based formula (which means the latex is suspended in water rather than chemicals) it will soon defrost and performance won’t be affected.
HOW DO YOU CHECK TUBELESS SEALANT?
The easiest way to check your sealant is to fully deflate your tyre and pop one side of the tyre bead off the rim so that you can see the inside of your tyre carcass.
What you're looking for is a good coating of sealant all over the inside of the tyre then a pool of residual sealant which gathers at the bottom of the tyre when left for a few seconds.
If you have a coating of sealant but no pool of residual sealant then simply add some more fresh sealant to your desired amount.
In the unlikely event your sealant has fully dried up (naughty you for not checking it for so long!) then you can simply re-add the correct amount of sealant as stated on our quantity guide and get riding again. This fresh sealant will help to rehydrate the old sealant and make it easier to remove from your tyre carcass.
Once you've checked the sealant - and topped up if necessary then simply pop the bead back onto the rim and re-inflate. Just be sure to wash away any sealant off the outside of the rim to prevent after re-inflating because it's not easy to remove once it's dry (it has to bond to rubber after all!).
DO I NEED TO WASH MY TYRE BEFORE ADDING SEALANT?
Yes, Make sure you thoroughly clean the inside of your tyres of any dirt, oil and other sealants before you first setup tubeless. New tyres are often coated on the inside with a residual chemicals from the manufacturing process (specifically release agents) which can react with tubeless sealant and cause it to solidify prematurely or reduce it's ability to fully seal punctures.
Let the tyre dry fully after cleaning and wipe the tyre with isopropyl alcohol or our Peaty's Disc Brake Cleaner before applying sealant.
DO I NEED TO REMOVE OLD TUBELESS SEALANT?
This heavily depends on what type of sealant you're already running.
Our new Peaty's Holeshot Tubeless Sealant is fully backwards compatible with our OG Tubeless Sealant, so you don't necessarily need to wash out old sealant when topping up with new Holeshot Tubeless Sealant.
However, if you want the full benefits and sealing power of the new Holeshot sealant then you should fully replace with Holeshot Tubeless sealant.
If you're using another brand of sealant then we can't guarantee our sealant's compatability, simply because we have no control over the chemicals and addatives they use.
Top tip: The caps on our aerosol tins are a perfectly sized scoop to scrape out old sealant. This sealant could then be re-used in a new set of wheels instead of being thrown away.
DOES THIS SEALANT WORK WITH ROAD, GRAVEL AND CYCLOCROSS TYRES?
In short, yes as long as your rims and tyres are tubeless ready, you can use tubeless sealant in road, gravel and cyclocross tyres.
WHY DO MY TUBELESS TYRES HAVE LITTLE WHITE DOTS ON THE SIDE?
Tubeless tyres rely on a thin lining of butyl rubber on the inside of the tyre to hold air (and sealant). Some new tyres (especially very thin / lightweight tyres) can have tiny imperfections in this lining making the tyre slightly porous, so it is normal for new tyres to show little spots of sealant on the sidewalls where sealant is having to finish off the job the tyre manufacturer started 😉
This is fairly normal and should seal within the first 24hrs but if your tyre continually leaks out of the sidewalls then contact your tyre manufacturer as there may be a larger fault with the tyres construction.
Porous tyres may absorb some sealant within the first few riding hours to help seal these tiny holes so It's best to check your sealant levels after two weeks of application and top-up any lost fluid if required.
How do I remove dried on sealant from my frame or rim?
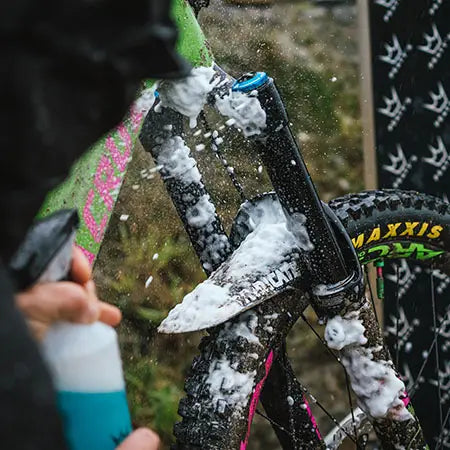
It is always best to remove / wash away sealant as soon as any gets onto a tyre, rim, frame or forks.
Once exposed to air, sealant is designed to solidify to a point that it will bond with rubber so it has to be pretty hard to remove by nature. Any less and it wouldn't bond with rubber well enough.
It’s not always possible to wash off thoroughly after a puncture mid-ride, BUT we recommend a quick squirt with a water bottle (or splash from a puddle or stream) usually gets the worst off out on the trails.
You can then do a thorough job with a hose and brush when you get home or back home, ideally within the first 24hrs.
For well dried on sealant, the best method we find is soaking the dried sealant in warm soapy water then persuading it off with some elbow grease and a soft sharp edge (like a credit card / fingernail or ice scraper) - just being careful not to scratch the surface of your paint.
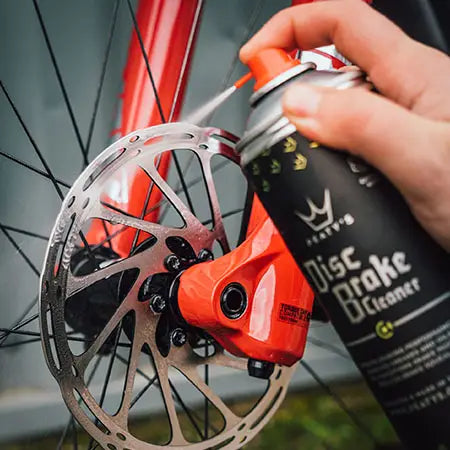
An alternative is to use our Peaty's Disc Brake Cleaner but you should always be careful when using this for prolonged periods of time onto painted surfaces.
We always recommend testing on a hidden area of paint first, to test for any raint discolouration or possible damage, before using elsewhere.
I have a small hole that won't Seal?
Sometimes tiny holes can actually be harder to seal than larger ones.
This is because with very fine pinprick holes the sealing particles can struggle to get inside the hole and build up a clot, so can sometimes take a bit of fizzing and bubbling to get a final seal. The best thing to do with any puncture is to rotate the hole to face downwards so that the residual sealant inside the tyre is forced through the puncture by the air pressure inside the tyre. Having the puncture facing upwards is not feeding the hole with any sealant so you'll just get bubbling and no sealing (this is the same for any sealant). Also sealing time can depending on the tyre compound and the ambient temperature - since Peaty's Sealant is water based, not solvent based, you're essentially waiting for the water to evaporate before the latex will form a final bond, so on hotter days the fizzling will stop sooner than on cold days.
BIOFIBRES
The biggest change with the holeshot sealant is the addition of biofibres. Fibres tangle up with particles and latex to create a faster, more durable seal. Our original sealant didn’t have any fibres.
THINNER FORMULATION
We’ve also made the sealant slightly thinner, for easier initial setup, and added higher concentrations of sealing compounds - to work with the fibres and platelets and give a better / more durable seal.
WAIT, IS THAT PLASTIC GLITTER?!
Hell no! No micro-plastics or microfibres here… The platelets in our sealant are BioGlitter made from a special form of cellulose from hardwoods, sourced certified plantations.

